Tuesday, July 30, 2013

DIY Muscle Tank


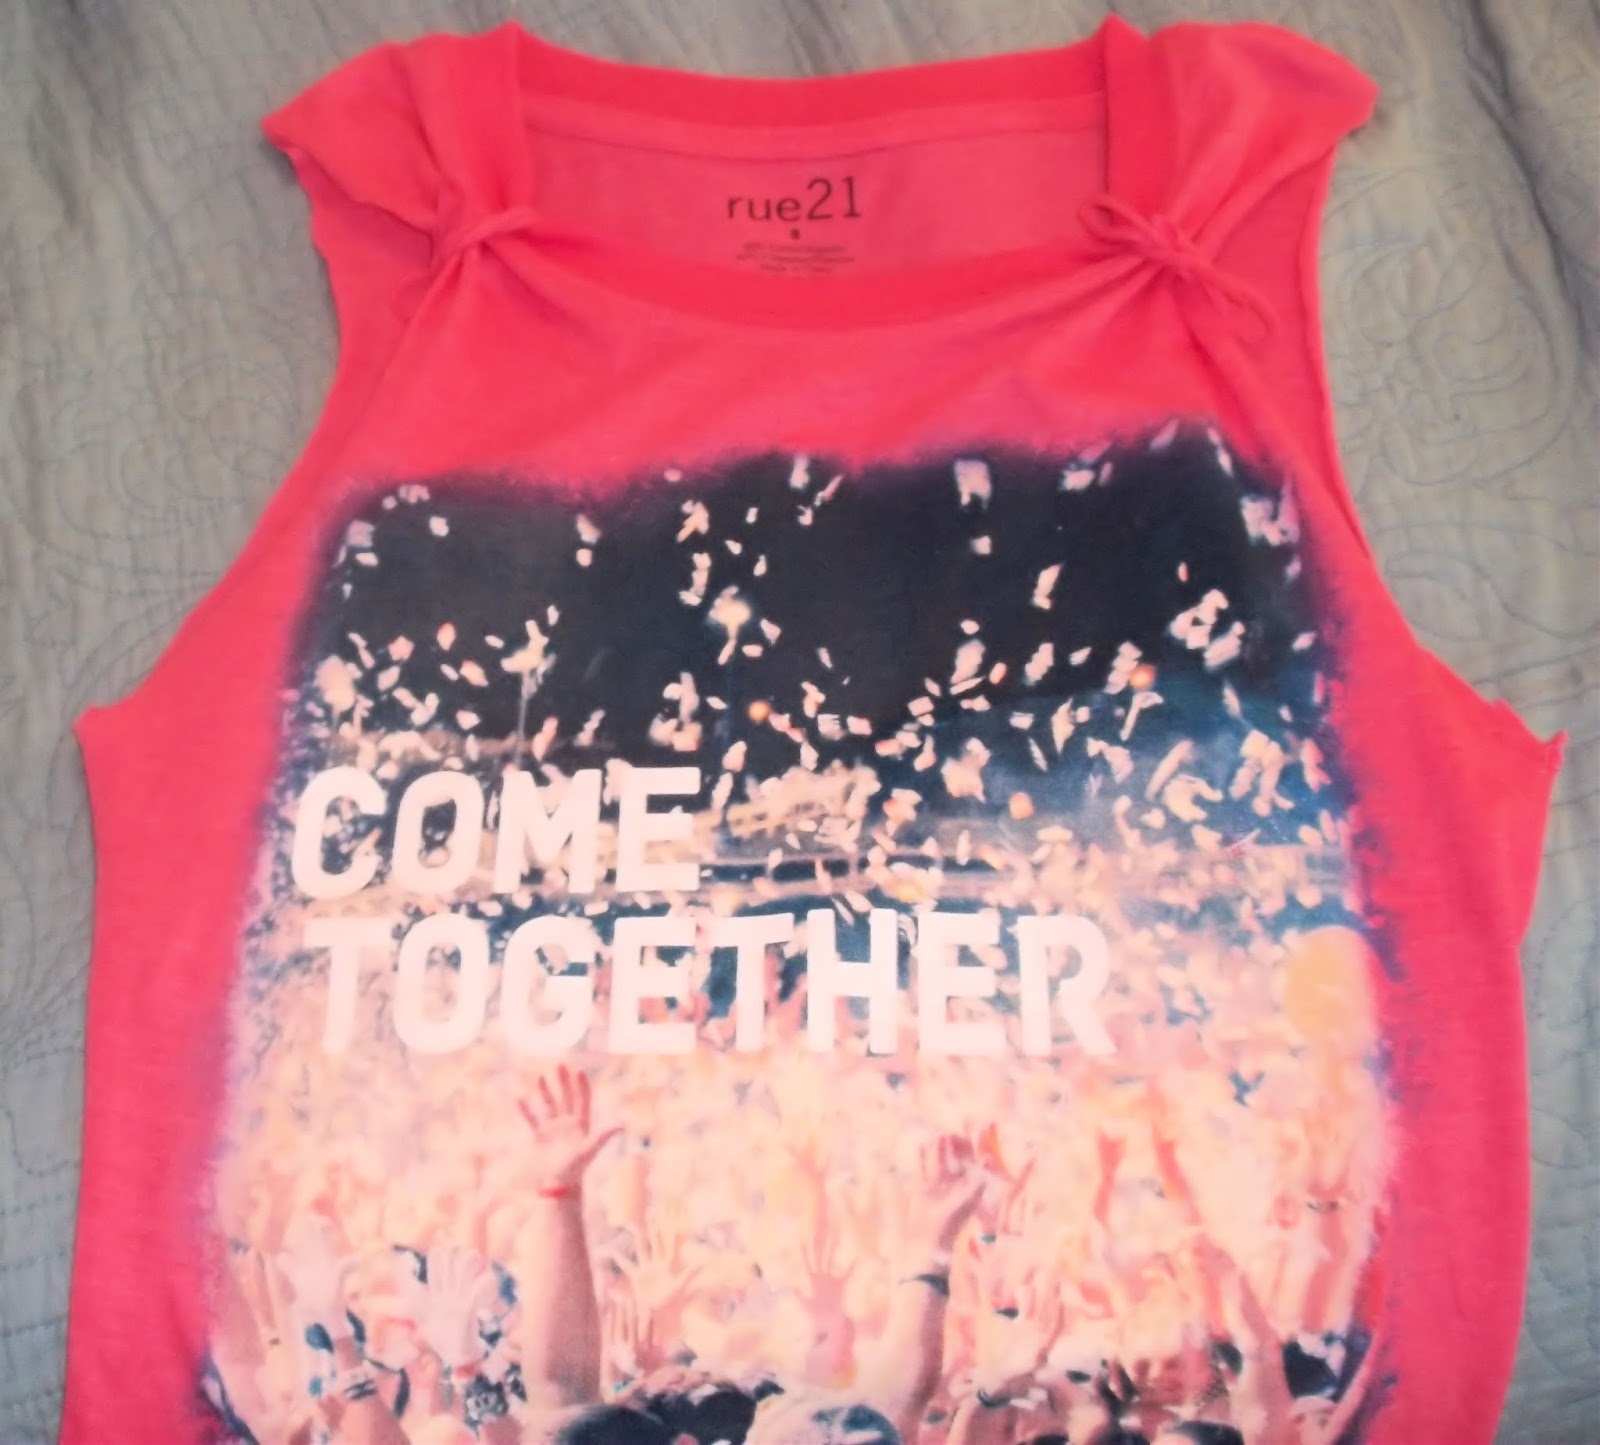
Graphic muscle tees are everywhere right now! And like every trend it costs way more than it should to get your hands on one. Not too much but I don't really feel like paying $5-15 more for a muscle tee/ tank version of a tee shirt I could've just DIY'd. So while at an outlet mall in beautiful Las Vegas I bought a tee for $5 from Rue 21 (well actually I bought a _ton of stuff but let's not talk about that.. what happens in Vegas *stays* in Vegas. At least I didn't spend too much, such is the beauty of outlet malls) and now we're gonna muscle tee that shirt UP! Lezzgo

You're gonna need:

  • T-shirt (here's what I'm working with =>
  • scissors 
  • That's it! 


Step 1: Put the shirt on. Everyone is shaped differently so the way I cut my shirt may not work out for you. So I suggest trying the shirt on and marking where you want to cut it. The size of the arm holes is totally up to you. I didn't want mine too big or too small. I only marked from the top of the shoulder to the armpit because I couldn't reach the back. Again, feel free to make your arm holes any size you want.


Step 2: Cut along your lines through both sides of the shirt to make an even arm hole. 


It should look like this            

Step 3: Tug at the cut fabric. This makes it a little wider and also makes the fabric curl a little which looks nicer.
Step 4: Now take the one of the sleeves you just cut off and cut along the seam. This is just to allow the sleeve to open up as show in the second picture. 


Step 5: Cut off the seam along the straighter part of the sleeve


Step 6: Now cut a strip of fabric above the seam you just cut off. It should be about 3/4 of an inch wide. 


Cut all the way across. 


Step 7: Tug and tug that fabric until it looks almost like a noodle. 

Step 8: On to the bows! Loop the noodle of fabric loosely around the sleeve of the shirt. Then slip one end under the other.
Step 9: Pull the right end of the noodle fabric and pull it under the sleeve to the other side. Then tie a little bow. 


 Step 10: Repeat on the other side.

TADA! So cute and perfect for summer!

Tkjjjjjjjjjjjjjjjjjjjjjjjjjjjjjjj. 

 This next part is totally optional, I just have a personal preference for hi-low shirts so that's what I did.

Step 11: Put the shirt on and mark where you want the rise to be. Be sure to make a straight line in the middle of the shirt, this looks more natural than a pointed curve or something. Then cut.


Step 12: I decided to cut the seam off the back of the shirt. It looked a little funny with no seam on the front.

That's it! I think it's so adorable, can't wait to wear it to concerts or downtown or just hanging out with friends.


More to come.
Stay crafty.
❤S


Monday, June 10, 2013

DIY Pearl Peter Pan Collar Necklace

I'm really loving the Peter Pan Collar trend. I bought a couple shirts and dresses with peter pan collars and found myself wishing each and every shirt in my closet came with one. Then, I realized this was very possible! A Peter Pan Collar necklace! I'm aware stores like F21 and Nordstrom's sell metallic collar necklaces but I wanted something that seemed like it could be a part of the piece of clothing. And thus this project was born!
Inspiration:
http://www.stylehive.com/blog/diy-pearl-collar-necklace
DIY Pearl Collar Necklace
Also this missglamorazzi video (she is amazing!): http://www.youtube.com/watch?v=NeCrjALFOgI
Let's get started!

You will need:

  • a piece of felt (about 8x10 - it needs to be big enough to be the base of the necklace)
  • craft pearls
  • craft glue, tacky glue, super glue
  • scissors
  • marker, sharpie
  • hole punch
  • ribbon
  • piece of paper
Step one: On your piece of paper, cut out the shape of one half of your collar. It should look sort of like a banana... sort of. You can print out pictures of your fave peter pan collars online and use those as templates, too!


Step two: Fold the piece of felt in half. Place the cut out shape on the crease and cut.


Step three: Unfold the felt. It should have the shape of an adorable peter pan collar!


Step four: Line part of the outline of the felt with glue and stick on the pearls. Do this in pieces until the entire edge is complete.


Step five: Next squeeze out lines of glue onto the felt to hold the pearls. I tried a couple different methods of glueing them on and found this to be the best one. Continue until all of the felt is covered.


Step six: Make sure there is a good amount of space at the ends of the collar. I didn't leave enough and had to pull some pearls off. Then punch a hole away from the edges.


Step seven: (Optional) I had a really fat ribbon so I decided to cut my ribbon in half to make it less bulky.


Step eight: Hold the collar in place where you want it and then measure the length of ribbon needed to keep it there (don't forget to leave excess for tying!).


Step nine: Cut and put one end of each ribbon through the punched hole and tie it.


Step ten: Tie the two ribbons together and voilĂ  you have a pearl peter pan collar!

The white pearl looks beautiful with my LBD but it looks super casual with my yellow blouse below. I'm obsessed!


I absolutely adoreeeee it. I hope you liked this tutorial. Stay crafty.
♥S


Saturday, June 1, 2013

DIY Athletic Racerback Tank

Alright guys, first post! WHOOOO.
We're going to be making an athletic racerback tank. I used this as inspiration:
 http://www.blogilates.com/printables-2/diy-racerback-workout-shirt-tutorial

Ok so first things first; supplies! You will need:

  • a T-shirt
  • scissors
  • a pen/marker
That's all! It's super simple.

Step one: Lay your tee out on a flat surface.


I'm using this wonderful Relay For Life 'Fight To Win' T-shirt.


Step two: Try the shirt on and eyeball where you want to cut the neckline and sleeves. You can use a pen to mark the spots while you're wearing it. I DIDN'T do this and the neckline came out a little strange.

Step three: Take the shirt off and mark the new sleeve and necklines you want. I wanted low sleeve holes so I cut about 1.5 inches off there. Also decide where you want the straps and how thick you want them to be. THEY COME OUT THINNER THAN THEY LOOK! I think mine came out too thin, personally.

 Step four: Next, flip the shirt over. Make a deep V on the shirt (I suggest making yours deeper than mine) and then make two arcs curving towards the V. Again you must decide how thick you want the straps to be and how big you want the holes to be. Make sure the lines on the back meet up with the lines on the front in the right places.
 Step five: Cut along the lines you made. I suggest holding the fabric apart tight with one hand and cutting with the other- this makes neater lines.


Tip: Try the shirt on after cutting the sleeves and after cutting the neckline to see if there are any adjustments you want to make.

 Step six: Cut off the bottom edge of the shirt (about 1 inch ABOVE the seam).

Step seven: Now cut the seam off of the strip. Try and cut pretty close to the seam. Then stretch the resulting strip as much as you can. Keep doing it until you get a long noodle of fabric like so:


 Step eight: Take the strip and tie a knot around the bottom of the V on the back of the shirt. Then wind it tightly around the V. I suggest stopping around 1-2 inches from the top. Tie another knot at the top and cut off any excess.


Step nine: Next ask yourself if you want a hi-low tank. No? Then you're done! Skip to step ten. Yes? Try on the shirt again and mark where you want it to come up to ( I didn't want my belly to show and I didn't want to wear another tank underneath so I made a subtle rise). Lay the shirt flat and in the middle of the shirt draw a straight horizontal line about 4 inches long at the highest point you want your shirt to rise. Next curve down to the corners. Now cut!

 Step 10: You're done! Now tug at the edges you cut- this makes the tank longer and makes the edges look more natural instead of awkwardly curling upwards. Wear and enjoy.


Not the best picture quality, I apologize! Keep in mind this is my first blog post!
Hope you liked this tutorial. Stay crafty.
♥S