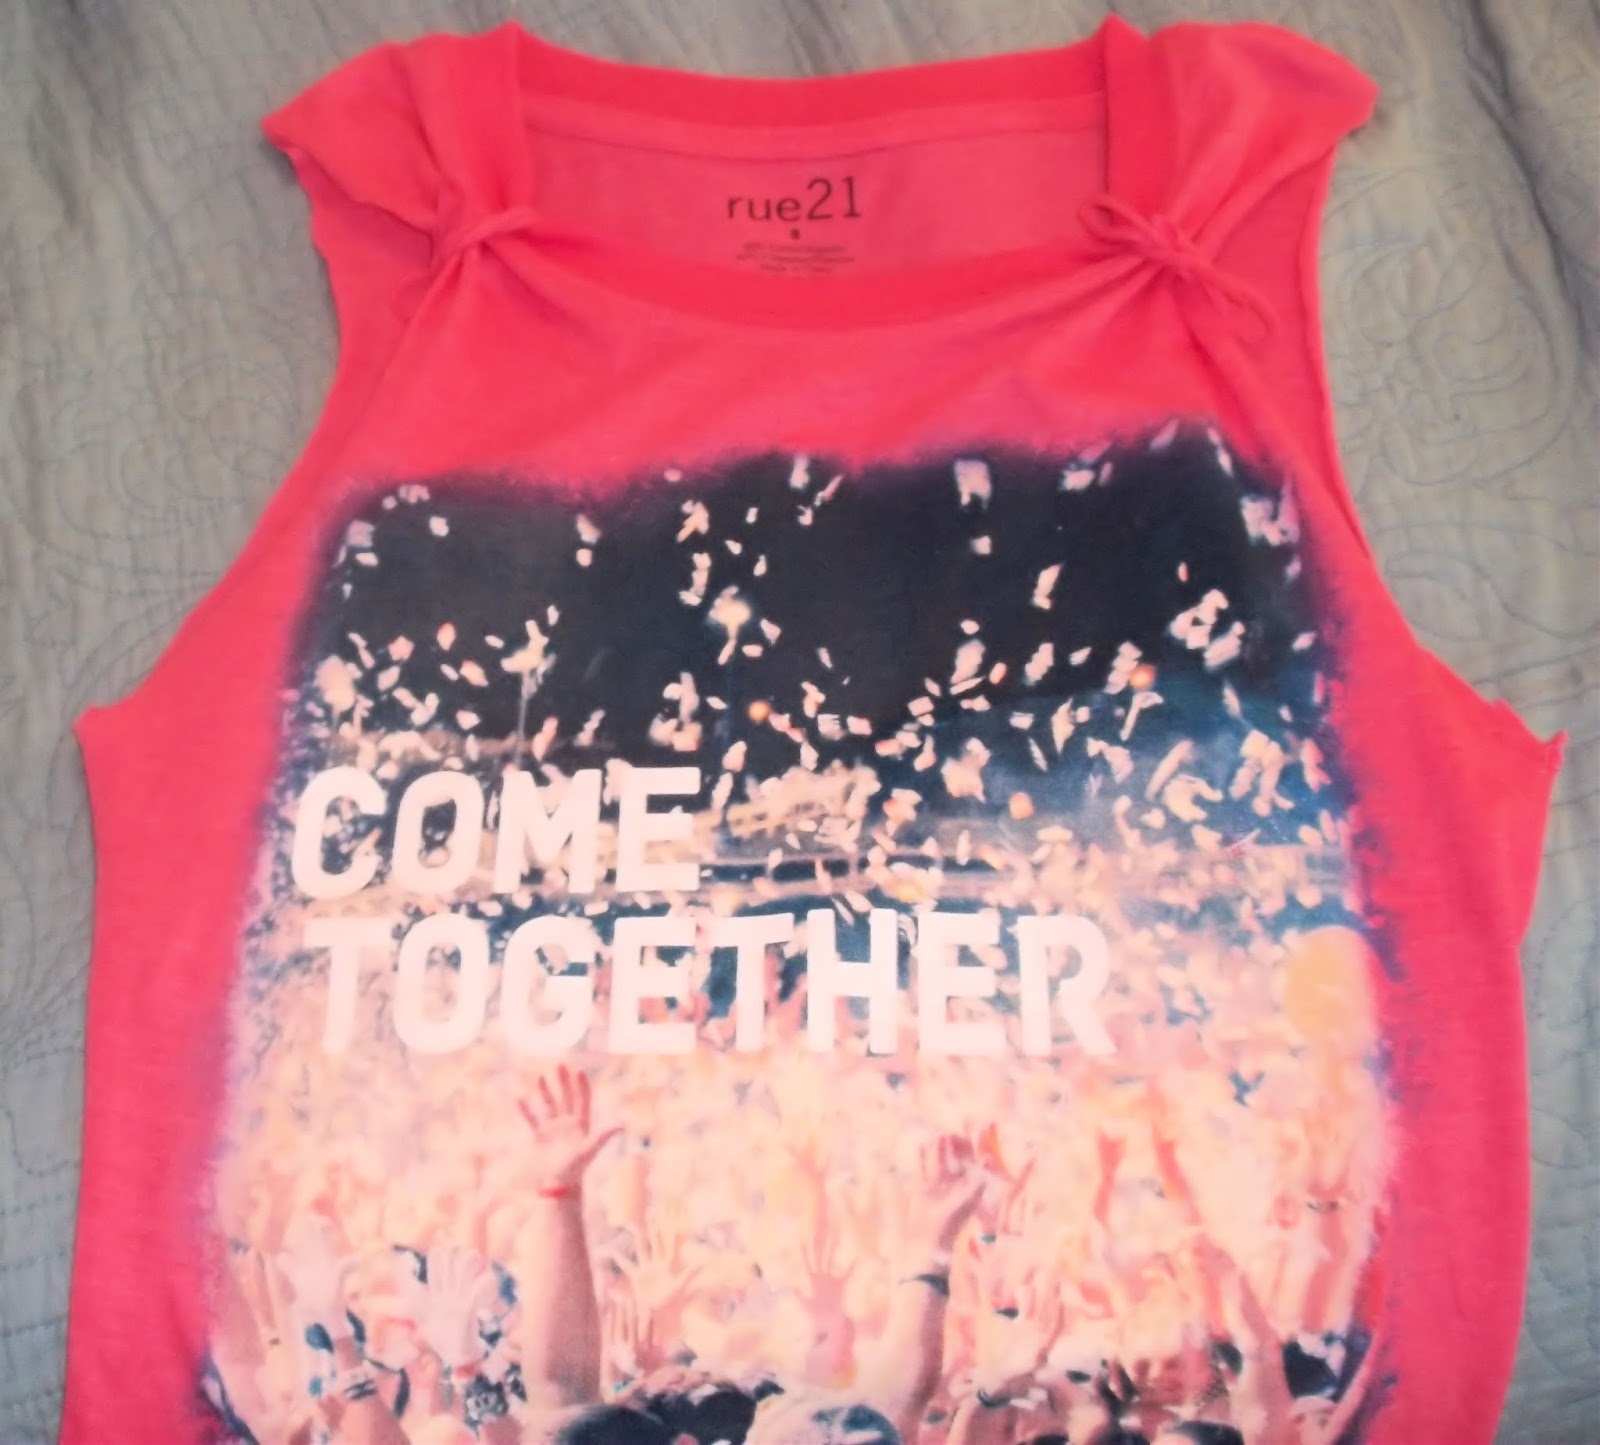
Graphic muscle tees are everywhere right now! And like every trend it costs way more than it should to get your hands on one. Not too much but I don't really feel like paying $5-15 more for a muscle tee/ tank version of a tee shirt I could've just DIY'd. So while at an outlet mall in beautiful Las Vegas I bought a tee for $5 from Rue 21 (well actually I bought a _ton of stuff but let's not talk about that.. what happens in Vegas *stays* in Vegas. At least I didn't spend too much, such is the beauty of outlet malls) and now we're gonna muscle tee that shirt UP! Lezzgo
You're gonna need:

- T-shirt (here's what I'm working with =>
- scissors
- That's it!
Step 1: Put the shirt on. Everyone is shaped differently so the way I cut my shirt may not work out for you. So I suggest trying the shirt on and marking where you want to cut it. The size of the arm holes is totally up to you. I didn't want mine too big or too small. I only marked from the top of the shoulder to the armpit because I couldn't reach the back. Again, feel free to make your arm holes any size you want.
Step 2: Cut along your lines through both sides of the shirt to make an even arm hole.

It should look like this

Step 3: Tug at the cut fabric. This makes it a little wider and also makes the fabric curl a little which looks nicer.
Step 4: Now take the one of the sleeves you just cut off and cut along the seam. This is just to allow the sleeve to open up as show in the second picture.

Step 5: Cut off the seam along the straighter part of the sleeve
Step 6: Now cut a strip of fabric above the seam you just cut off. It should be about 3/4 of an inch wide.
Cut all the way across.
Step 7: Tug and tug that fabric until it looks almost like a noodle.
Step 8: On to the bows! Loop the noodle of fabric loosely around the sleeve of the shirt. Then slip one end under the other.
Step 9: Pull the right end of the noodle fabric and pull it under the sleeve to the other side. Then tie a little bow.

TADA! So cute and perfect for summer!
 Tkjjjjjjjjjjjjjjjjjjjjjjjjjjjjjjj.
Step 11: Put the shirt on and mark where you want the rise to be. Be sure to make a straight line in the middle of the shirt, this looks more natural than a pointed curve or something. Then cut.
Step 12: I decided to cut the seam off the back of the shirt. It looked a little funny with no seam on the front.
 |
Stay crafty.
❤S


No comments:
Post a Comment